Note: If for some reason a part is bend you can put it in hot water 70 to 90 degrees for a few seconds and put it to dry on a flat surface.

Step 1
Place the tape over the top section part that is tapes is not needed.
Step 2
Put tape on the sides. Use the line below the storage hatch as a guide for the side cut. Do this on both sides. To tape the corners use the door


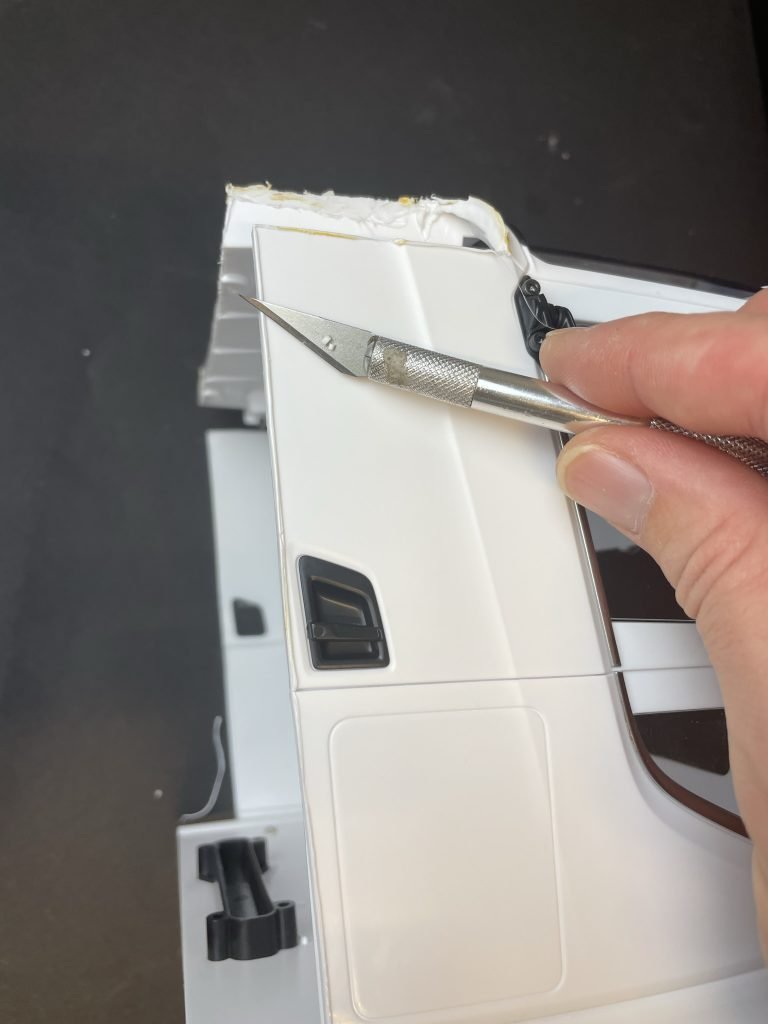
Step 3
Taping the front Tape should be inline with the outside of the bottom holes. Then after the cut you can mark the cut for the motor using the line cut of the new front section. ( See image 1 below)

Step 4
Now you can cut all taped lines and sand strait if needed. We cut with a soldering iron and replaced the tip with the hobby knife.


Step 5
Mount the front section on the cabin using the lower two holes of the front cabin. You might need to cut a little on the sides to make a good fit.

Step 6
Cut the Chassis make sure the cut line is about 6mm from the bolt in the image. After you cut the chassis you can add the chassis extensions (NOTE: the long hole need to face the rear of the truck. This will be on the place where the hole already is.) Then you can drill the needed holes in your chassis. Before you bolt all make sure you fitted the new drive shaft!


Step 7
Now you can mount the base plate and screw the standard plate on to the new one like the image below.


Step 8
Now you can put the cabin back up the chassis. Use the two metal L brackets to mount the front side
Step 9
Mount all Lights, mounting parts and magnet from the standard fenders on to your new longer fenders on both sides.

Step 10
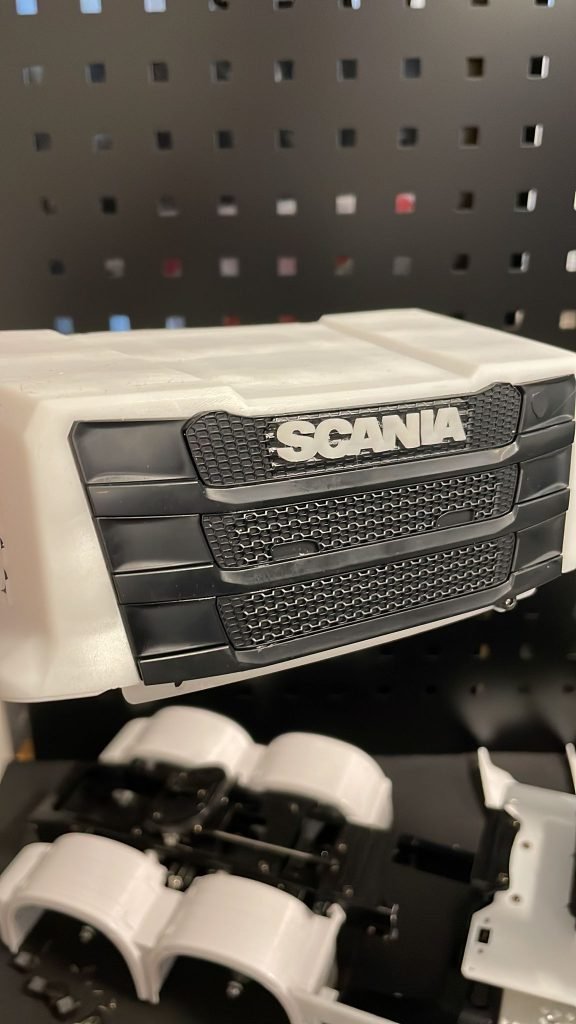
Fit in the front grill that you cut in the hood and bolt it. Now add the logo back on the grill either glue it or drill the small holes for the pins. You can screw the hood first like you would do with the cabin and finally place the bumper back on.
